Changing SMPTE Timecode start on a Broadcast Wave file

There is a great reference available in Broadcast WAV files that allows many audio editing programs to display an embedded timecode stamp that was given to it from the audio program that created the file. I have found that when these files come from the audio team, they don’t necessarily have the correct start time entered (since no-one really needs to use it). However, it becomes very handy when you are programming offline and need to get markers in, in a program like Twisted Wave for example.

Go here and download Wave Agent (www.sounddevices.com).

Once installed, open Wave Agent. Drag the WAV file that you wish to alter into the large area at the top, or from the File menu, click on Import.

Wave AgentScreenSnapz001

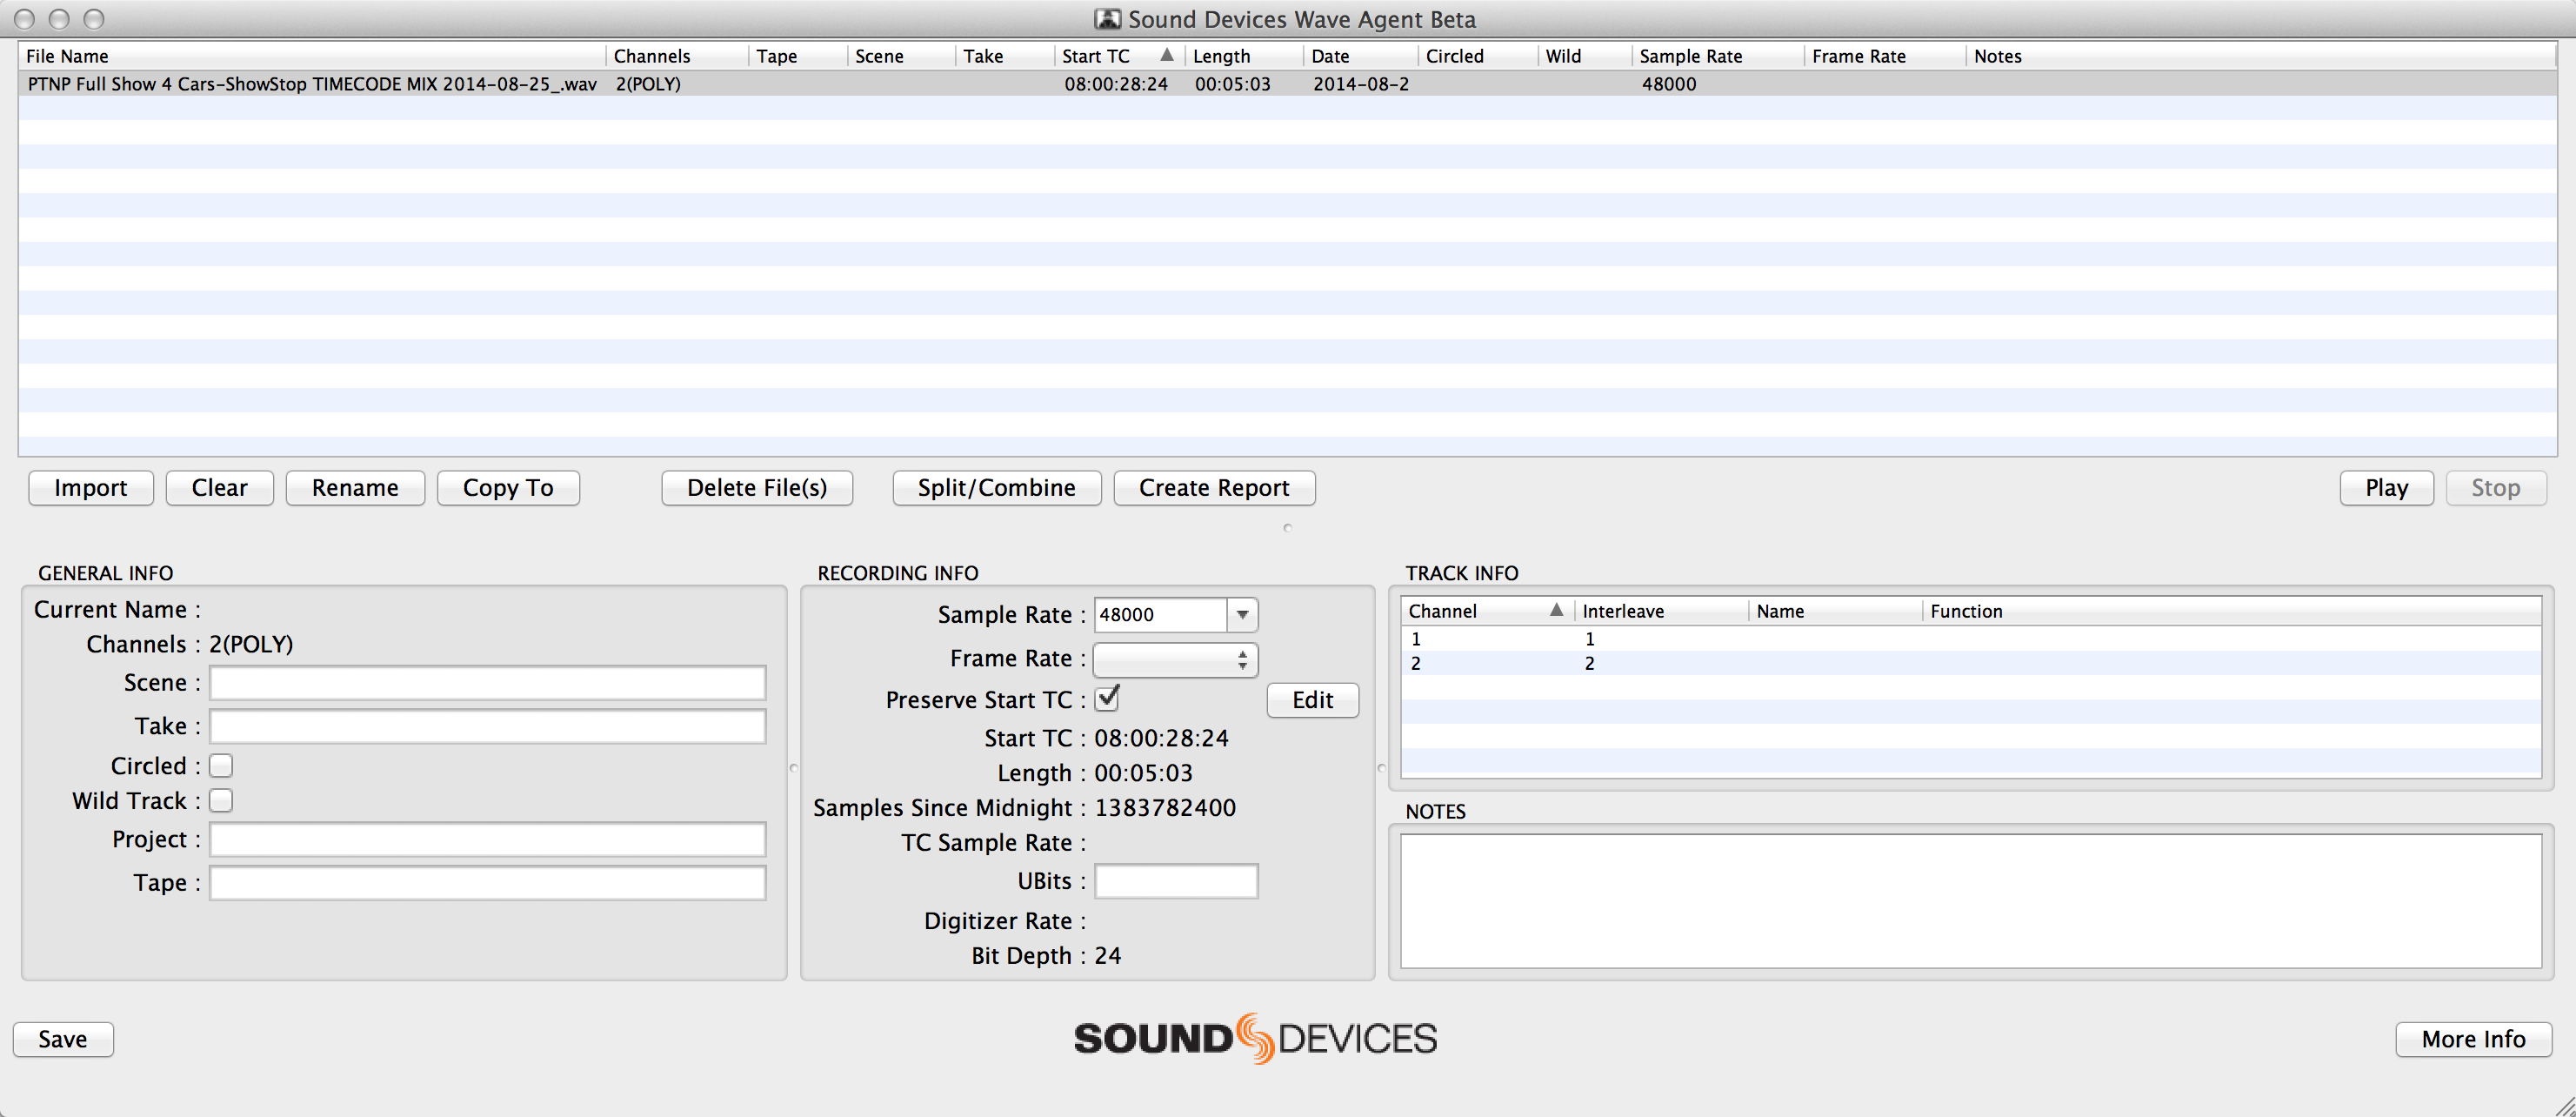
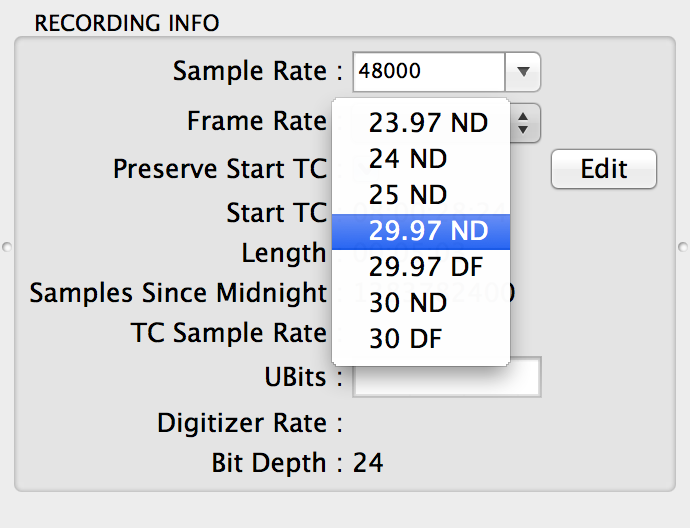
At the Recording Info area in the center bottom of the display, click on Frame Rate and select the rate that your timecode audio file is running at.

Screen Shot 2014-09-15 at 5.12.26 PM

Make sure that Preserve Start TC is checked and then click on Edit. Change this time to match the time of where the timecode stripe on your audio file is starting at (if you’re not sure, ask the person who generated the audio file or run it through an actual SMPTE clock to find out – reference my earlier post on reading SMPTE on a mac to be able to do this).Screen Shot 2014-09-15 at 5.17.12 PM

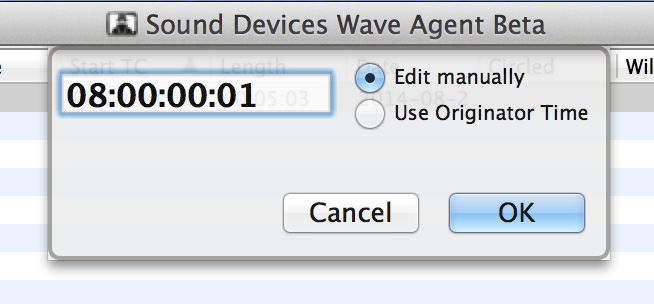
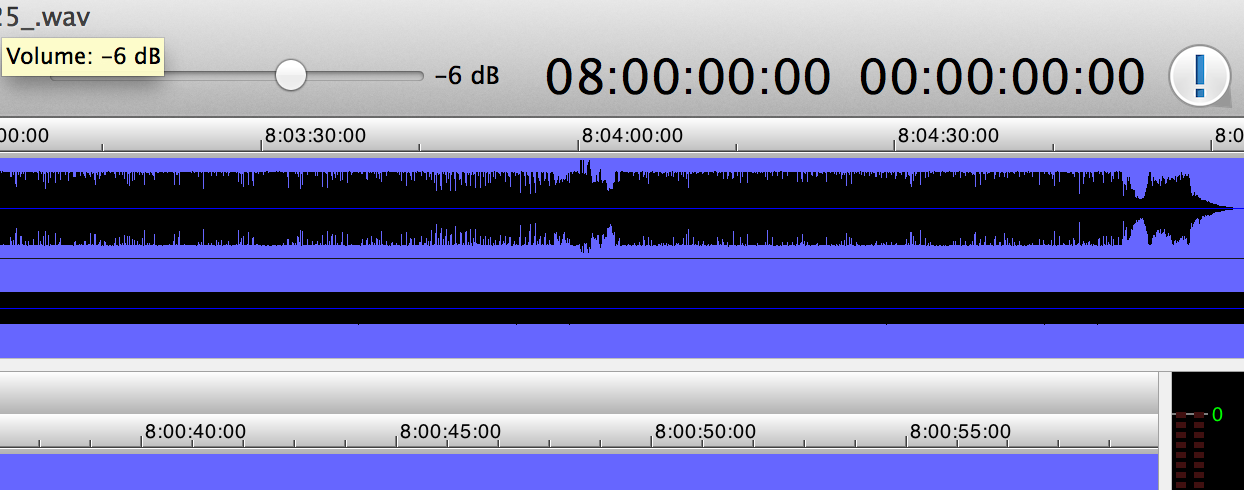
My SMPTE stripe is actually starting at 08:00:00.00 however there is something weird in Twisted Wave that it displays the WAV file early by one frame, so I correct it here to make up for it.
Update: Twisted Wave version 1.13.2.4 or later has fixed this math error, so enter the actual start time; In this example it would be 08:00:00:00.

Click OK and then the SAVE button at the far left bottom most corner. Click OK to confirm and then after it’s done, you can close Wave Agent.

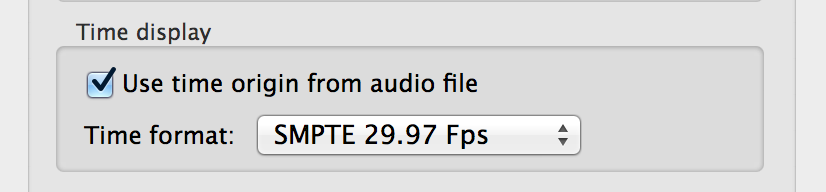
Open up Twisted Wave and then its Preferences. Under Time Display check Use time origin from audio file and then select the same frame rate that you encoded the file at in Wave Agent.

Screen Shot 2014-09-15 at 5.15.50 PM

Accept those settings and you should now see the start time you put into Wave Agent (minus one frame) in the cursor position readout at the top right of Twisted Wave

Screen Shot 2014-09-15 at 5.16.59 PM

What is nice about this setup, is that when you use Markers, the marker time will accurately reflect where that is in your timecode stripe. Very useful for cueing very tight segments for consoles without a learn function.

MacPorts Installation and Sending UDP Messages from the Command Line and Applescript

UPDATE: A very easy tool to send UDP commands can be found here http://packetsender.com/

Spurred on by one of my colleagues, I found a way to be able to send UDP messages from the command line without a lot of fuss. Granted, you do have to install some things on the backend, and any applescript you make wont be able to run on any computer unless this same process has been completed, but it’s still useful if you need to send UDP messages (say to a Pharos/Mosaic/Eos). This was all done in Mountain Lion 10.8.2:

  • Follow the instructions here up to the point where it gets you to install the game – don’t do that. They refer to Darwin Ports everywhere – it’s actually called MacPorts now.
    http://www.nzmac.com/features/how-to/installing-unix-software-on-a-mac/continues.html
  • You can find the install for MacPorts here:
    http://www.macports.org/install.php
  • When in the instructions on the nzmac.com site, it tells you to change to the darwin ports directory, this is the command instead:
    cd /opt/local/var/macports
  • Anytime you see “dports” substitute “macports”.
  • After you’ve gotten through all the above, you’ll want to install the program “socat” which will allow you to send the UDP messages:
    sudo port install socat
  • Once that has installed sucessfully, you should now be able to send UDP messages now like the following. You would replace “HELLO” with the text you wish to send and then change the IP and port number to the device you’re sending to:
    echo "HELLO" | socat – UDP-DATAGRAM:192.168.0.255:5000,broadcast

Now for the actual Applescript, that part is easy, you just have to insert a “do shell script” command into an applescript where you can ask for variables, etc.  Here’s an example:

set UDPstring to the quoted form of "Hello_Does_This_Work"

do shell script "echo " & UDPstring & " | opt/local/bin/socat - UDP-DATAGRAM:192.168.0.255:5000,broadcast"

MacPorts has some other fun things you can install, like Terminal Notifier for instance. Here are some commands to remember:

  • To make sure that your installation is up to date and to upgrade anything you may have installed through MacPorts, run these two commands:
    sudo port -v selfupdate
    port upgrade outdated
  • To search for a particular program or to list all the programs (replace {name} with your search criteria:
    port search {name}
    port list
  • Finally again, to install a new port, the command is:
    sudo port install {portname}

As usual, YMMV and always backup your computer before you do something you’re unsure of.  Good Luck!

-j